Your blog post
12/31/2025
🧰 How I Repaired Chimney Flashing With Elastomeric Roof Patch
Category: Roofing / Weatherproofing
Posted On: December 31st 2025
Job Overview
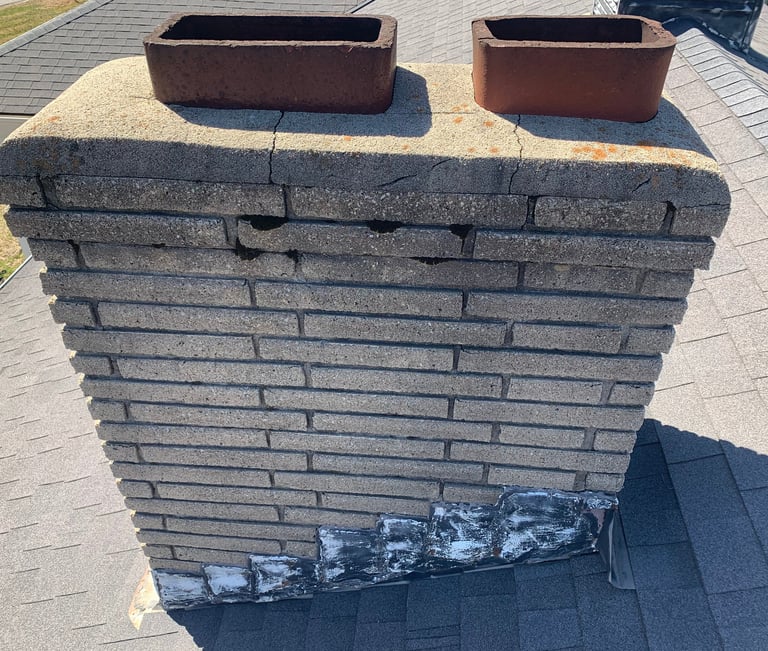
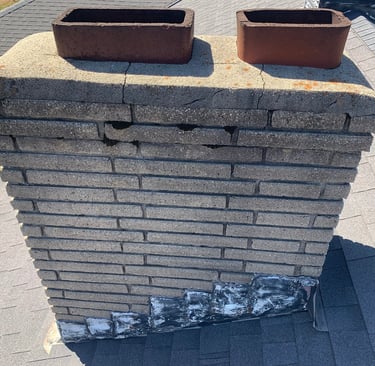
One of the most common causes of roof leaks around a chimney is failed flashing — gaps, cracks, and separation let water rush in every time it rains. On this job, I found cracked and popped flashing and sealed it up using white elastomeric roof patch and fiberglass mesh for a long‑lasting waterproof repair.
🛠 Tools & Materials Used
Tools
Wire brush
Utility blade
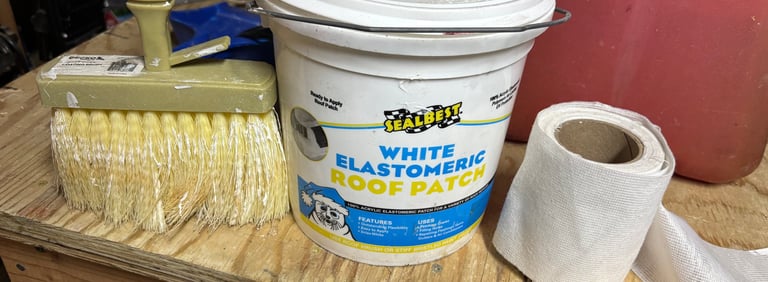
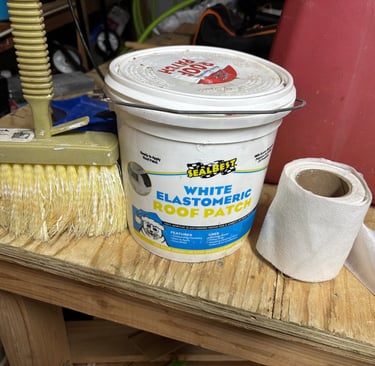
Heavy‑duty coating brush
Ladder and proper fall protection/safety gear
Materials
White elastomeric roof patch
Fiberglass mesh reinforcing fabric
Masking tape
📌 Step‑by‑Step Repair Process
1. Prep & Clean the Flashing
Before patching, I cleaned the existing flashing where it had cracked and separated:
Used a wire brush to knock loose debris and rust off the metal.
Took a utility blade to remove cracked sealant and loose flashing edges.
Cleaning creates a better surface for the patch to bond to.
2. Mask the Work Area
I taped off a 6‑inch seam along the problem areas where the flashing met the roof and chimney. This:
Keeps patch lines straight and tidy
Prevents product from smearing onto roof shingles
3. Apply the First Coat
With a heavy‑duty brush:
Spread a smooth first coat of elastomeric patch over the taped seam.
Covered the visible gaps and cracks completely.
Get a good base coat — this is what holds the mesh in place.
4. Embed the Mesh
While the first coat was still wet:
Placed fiberglass mesh fabric along the seam.
Pressed it into the patch with the brush so the fibers were saturated.
This adds structural reinforcement so future roof flexing doesn’t crack the seal.
5. Top Coat
After embedding the mesh:
Applied another generous coat of elastomeric patch over it.
Feathered the edges to smooth it into the roof surface.
Make sure the mesh is completely covered — no fabric sticking out.
6. Remove Tape & Final Check
Once the top coat went on:
Carefully removed the masking tape before the patch cured.
Inspected for thin spots or areas that didn’t seal well.
⚠️ Lessons Learned / Mistakes to Avoid
On this particular job, the mesh didn’t seal fully in a couple small areas — not because of the mesh, but because I didn’t use enough roof patch under it.
Pro Tip:
Apply enough patch under and over the mesh so it’s fully saturated and sealed. If the mesh shows through, water can still wick in.
💡 Pro Tips From the Field
Seal slightly beyond the problem area. Roof flashing issues often extend a few inches past visible gaps.
Keep a wet edge with elastomeric patch. If it starts skinning over, stop and smooth before it dries — uncured edges bond better.
Match the coating to your roof color (white elastomeric is great for heat reflection in sunny climates).
📞 Need a Reliable Repair?
Leaks around your chimney can cause big headaches inside your home if left unchecked. If you’re dealing with similar issues — from flashing leaks to roof sealing — book a service now so we can fix it right the first time.
👉
Quality Handyman services at your home.
Contact
Support
All ready have a quote & Ready to Schedule?
Mike@housecallsmechanic.com
913-735-9330
© 2025. All rights reserved.